
How to Install an Outdoor Cold Plunge at Home
A cold plunge should feel like a deliberate part of your morning, not a piece of equipment that complicates your property. To install an outdoor cold plunge well, begin with the conditions that determine daily use: a stable surface, reliable power, clean water access, privacy, and a clear path from your door to the tub. Get those decisions right before delivery, and the ritual becomes simple.
An outdoor installation gives you fresh air, natural light, and an easier transition into a post-training or early-morning recovery practice. It also exposes the equipment to weather, changing temperatures, and site-specific utility requirements. The best setup balances performance with protection.
Install an Outdoor Cold Plunge: Start With the Site
Choose the location before choosing the final orientation of the unit. You want enough room to enter comfortably, remove the cover, access the controls, and service the chiller if needed. A cramped corner may look efficient on a plan, but it can make routine maintenance unnecessarily difficult.
Think through the full experience. Is the plunge close enough to the home that you will use it in winter? Can you step onto a dry, slip-resistant surface afterward? Is there a place for a towel, robe, sandals, and a small bench? The most successful home recovery spaces reduce friction at every point.
Privacy matters, especially in a dense neighborhood. A side yard, screened patio, pool house zone, or landscaped terrace can create a sense of stillness without isolating the unit from the home. Avoid placing the plunge directly below trees that shed leaves, blossoms, or heavy debris. This adds to water-care demands and can obstruct covers or equipment ventilation.
Also consider sunlight. Partial shade can reduce heat gain and ease the workload on a chiller during hot months. In colder climates, some sunlight may make the surrounding area more comfortable and help snow or moisture clear more quickly. There is no single right answer. Your local climate, desired water temperature, and landscape all matter.
Build a Foundation That Will Not Move
A filled cold plunge is substantially heavier than it appears. Water weighs roughly 8.3 pounds per gallon, before accounting for the tub, chiller, cover, and the person using it. The surface beneath it must be level, durable, and rated for the full operating load.
A reinforced concrete pad is often the most dependable choice for a permanent outdoor installation. It provides a stable, washable surface and can be designed around drainage. Pavers may also work when they are installed over a properly compacted base and remain perfectly level. A structurally engineered deck can be an excellent design solution, but only after a qualified contractor confirms its load capacity.
Do not place a premium plunge directly on grass, bare soil, loose gravel, or an uneven patio. Settling can compromise the tub, affect water level, strain plumbing connections, and create a poor user experience. A level base also helps the cover seal correctly and allows water to circulate as intended.
Plan drainage from the beginning. The site should not collect rainwater around the cabinet or electrical connection. When it is time to drain and refresh the tub, you need a controlled route that complies with local regulations and does not flood landscaping, patios, or neighboring property. A nearby hose connection is useful for filling, while a drain location or approved discharge plan makes water changes far more manageable.
Leave Space for Airflow and Service
Many temperature-controlled plunges need breathing room around their mechanical components. The exact clearance depends on the model, so follow the manufacturer’s specifications rather than assuming a cabinet can be pushed tightly against a wall or fence.
Adequate airflow protects cooling performance and makes future service easier. It also gives technicians access to panels, pumps, filters, and plumbing if the unit ever needs inspection. A beautiful installation should never hide the equipment so completely that basic care becomes disruptive.
Plan Electrical Service Before Delivery
Electrical planning is the step homeowners most often underestimate. Outdoor cold plunges with active chilling, filtration, sanitation, or heating functions may require a dedicated circuit and GFCI protection. Requirements vary by unit, location, and local electrical code.
A licensed electrician should evaluate the installation before the plunge arrives. They can confirm voltage, amperage, outlet placement, conduit needs, disconnect requirements, and the distance from water. This is not a place for extension cords or improvised outdoor power solutions. A properly installed electrical connection supports safety, protects the equipment, and keeps the space visually clean.
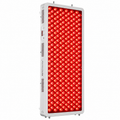
Ask your electrician to consider the rest of your recovery environment as well. If you plan to add infrared heat, outdoor lighting, a sound system, or a red light panel nearby, a thoughtful electrical plan can prevent costly revisions later. A dedicated wellness area should feel composed, not patched together over time.
For homes in regions with severe winter weather, discuss freeze protection and power continuity. A power outage can create a different set of risks depending on the design of the unit and ambient conditions. Understand what your model requires during freezing temperatures, including whether water should remain circulating, whether the unit needs to be drained, and how its plumbing is protected.
Prepare the Delivery Path
Measure more than the final location. Measure gates, side yards, turns, stairs, overhead clearances, and the route from the street or driveway to the installation area. Premium cold plunges can be large, heavy, and awkward to maneuver, particularly once crated.
If the route is narrow, steep, or blocked by landscaping, solve it before delivery day. A gate panel may need temporary removal. Delicate plantings may need protection. In some cases, a lift over a fence or access from an adjacent driveway is the practical choice. These details are easier and less expensive to arrange in advance.
White-glove delivery and in-home installation can be valuable when a setup involves tight access, electrical coordination, or a finished landscape. HALOR customers can approach delivery as part of the installation plan, rather than treating it as a final logistical detail.
Fill, Test, and Set Your Water-Care Routine
Once the plunge is positioned, level, connected, and approved for use, filling it is only the beginning. Follow the unit’s instructions for first-time startup, priming, filtration, and temperature settings. Check all fittings for leaks before settling into a routine.
Water quality determines whether cold exposure remains a clean, inviting practice. Filtration captures physical debris, but it does not replace sanitation. Depending on the system, water care may include approved sanitizers, ozone, ultraviolet treatment, or a combination of methods. Test water according to the manufacturer’s schedule and keep a simple record during the first few weeks. This helps you learn how your climate, use frequency, and household affect the water.
Shower before entering whenever possible. It is a small discipline that reduces oils, sweat, skin products, and contaminants in the tub. Keep the cover on when the plunge is not in use. This preserves water quality, limits debris, supports temperature control, and reduces energy demand.
Expect water-change frequency to vary. A single user who rinses before each session and maintains the system consistently may need a different cadence than a household with multiple daily users. Water that looks clear is not automatically balanced or sanitary. Follow testing guidance rather than relying on appearance alone.
Design for Safe, Consistent Use
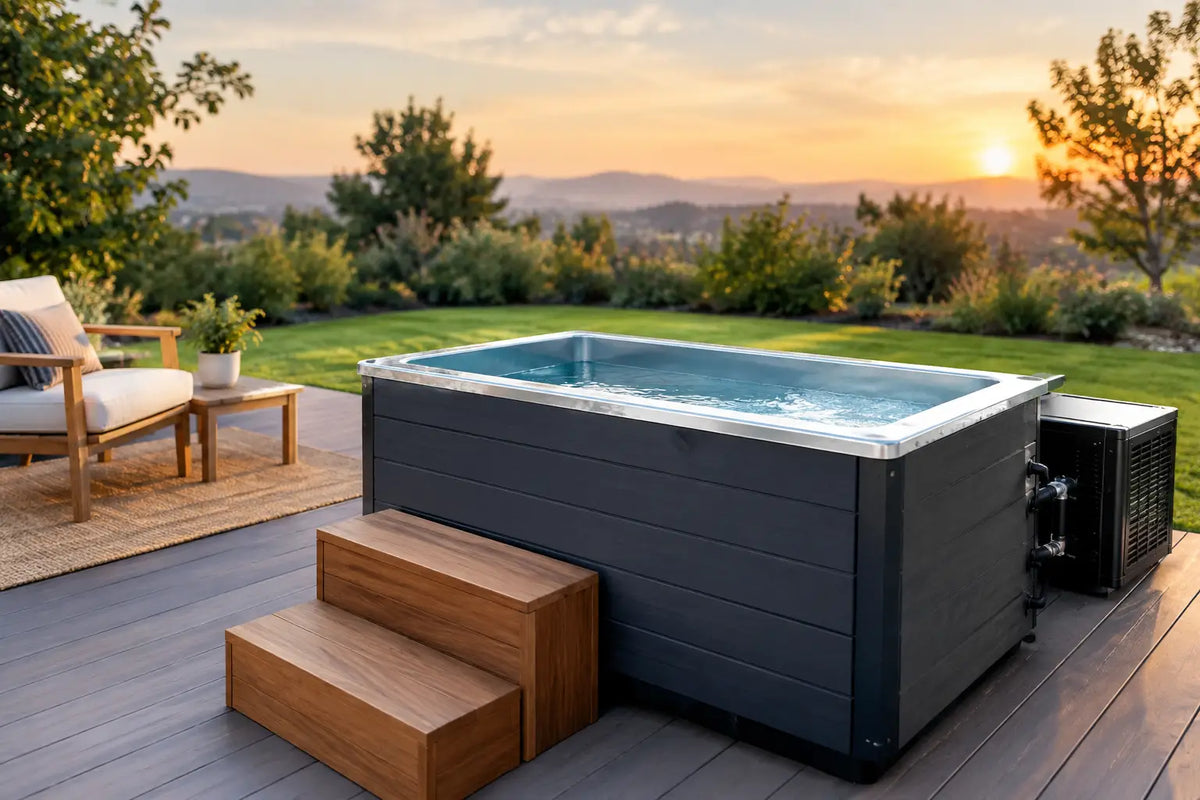
The area around the tub deserves the same attention as the tub itself. Use non-slip flooring, especially where wet feet will travel. Keep a stable step or entry point if the tub height calls for one. Good exterior lighting matters for early mornings and evening sessions, but it should be calm rather than glaring.
Place towels and a warm layer within reach. In winter, a covered path or nearby hook can make the difference between an occasional challenge and a repeatable ritual. If the plunge is near a pool or patio, distinguish its power supply and maintenance tools from other outdoor equipment so the space stays orderly.
Cold exposure is not appropriate for everyone. People with cardiovascular conditions, uncontrolled blood pressure, pregnancy, Raynaud’s phenomenon, or other medical concerns should speak with a qualified clinician before beginning. Even experienced users benefit from a measured approach: start with manageable temperatures and brief sessions, then adjust based on how you feel and recover.
Build the Space Around the Practice
A cold plunge becomes more valuable when it supports a rhythm you can keep. Some people use it after training. Others prefer it before a demanding workday, following sauna, or as a quiet evening reset. The ideal setup reflects that personal pattern.
Keep the environment calm, clean, and ready. When your towel is dry, the path is safe, the water is maintained, and the temperature is waiting, the decision to step in becomes easier. That is the real purpose of a well-planned outdoor cold plunge: not a dramatic installation, but a composed space that makes disciplined recovery feel natural.