
Cold Plunge Maintenance Checklist for Clear Water
A cold plunge should feel like a controlled reset: clear water, clean surfaces, stable temperature, and no uncertainty before you step in. This cold plunge maintenance checklist turns upkeep into a deliberate part of your recovery practice, protecting both your equipment and the quality of every session.
Premium cold therapy is designed to bring high-performance recovery home. That only works when the water system receives the same consistency you bring to training, sleep, and nutrition. A few focused minutes each week can prevent cloudy water, unnecessary wear on pumps and chillers, and the disruption of an unavailable plunge when you need it most.
The cold plunge maintenance checklist at a glance
Your exact maintenance schedule depends on tub capacity, filtration, sanitation method, bather load, ambient temperature, and whether the unit is used indoors or outdoors. A plunge used by one person three times a week requires less intervention than a shared unit used daily. Still, the rhythm remains simple: inspect daily, test and clean weekly, and refresh the system on a more thorough recurring schedule.
Before every session
Start with the water itself. Look for clarity, floating debris, foam, unusual odor, or discoloration. Clear water is the baseline. If it looks dull or smells off, skip the session until the issue is corrected.
Confirm that the temperature is at your intended setting and that the chiller is operating normally. Check the area around the unit for leaks, condensation beyond what is expected in your environment, or unusual sounds from the pump. Take a moment to shower or rinse off before entering, particularly after training. Body oils, sweat, lotions, deodorant, and detergent residue are among the fastest ways to compromise water quality.
Keep the cover on whenever the plunge is not in use. This small habit reduces dust, leaves, pet hair, and evaporation while easing the burden on the filtration system.
Once a week
Test your water chemistry according to the sanitation system your plunge uses. Depending on the manufacturer’s protocol, this may include sanitizer concentration, pH, alkalinity, and water hardness. Use test strips or a digital testing method specified for your system, then make small, measured adjustments rather than overcorrecting.
Most cold plunges operate best with pH in a generally neutral-to-slightly-alkaline range, often around 7.2 to 7.8. Follow your owner’s manual over any generic target, especially if your system uses ozone, UV, salt, or a manufacturer-approved sanitizer. Each approach has a different maintenance profile. Ozone and UV can reduce sanitizer demand, but they do not eliminate the need for testing, cleaning, and appropriate water treatment.
Remove and rinse the filter according to its instructions. A filter that appears clean can still hold fine debris, oils, and mineral buildup that restrict flow. Rinse it thoroughly with clean water. If the manufacturer permits a filter-cleaning solution, use it at the recommended interval and allow the filter to dry completely before reinstalling it.
Wipe down the waterline, lid, handles, and exterior surfaces with a non-abrasive, manufacturer-approved cleaner. The waterline deserves particular attention because oils and residue collect there first. Avoid household cleaners, abrasive pads, and fragranced products. They can damage finishes, create foam, or introduce chemicals that are difficult to remove from a closed water system.
Every two to four weeks
Inspect the system more closely. Check hoses, fittings, unions, seals, and drainage connections for moisture or mineral residue. Verify that electrical cords are dry, undamaged, and positioned safely away from standing water. If your plunge sits outdoors, inspect the cover, cabinet, and surrounding pad for weather exposure, debris, or pest activity.
Clean the filter more deeply if needed, particularly in a high-use household. This is also a sensible time to examine water flow. Slower circulation, a change in chiller noise, or inconsistent cooling can point to a clogged filter, air in the line, or a condition that deserves professional support.
Review the condition of your water honestly. Even if chemical readings appear acceptable, water can become difficult to balance after repeated use. Persistent cloudiness, recurring foam, a stale odor, or rapid sanitizer depletion are signs that a drain-and-refill may be more efficient than repeatedly adding treatment products.
When to drain and refill your plunge
There is no single calendar rule that fits every home. For a lightly used, properly treated personal plunge, water may last several weeks or longer. A high-use plunge, an outdoor unit, or a unit shared by multiple people may need fresh water more frequently.
Drain and refill sooner when water is cloudy, odorous, foamy, visibly contaminated, or difficult to balance. Do the same after an illness, a heavy-use period, or an accidental introduction of products such as bath oils, soap, hair products, or excessive lotion.
Before draining, turn off the power according to your unit’s instructions. Drain only through the designated outlet and follow local rules for wastewater disposal. Once empty, wipe the interior shell with an approved cleaner, paying attention to corners, jets, fittings, and the waterline. Rinse away all residue before refilling. Do not restart the chiller or pump until the water level is correct and the manufacturer’s startup sequence has been completed.
If your system calls for a line flush or plumbing cleaner during a full water change, use only the product and procedure approved for that model. This step can help remove biofilm and buildup inside the circulation path, but an incompatible chemical can damage seals, surfaces, or equipment.
Protect the equipment that protects your routine
Cold plunges are designed around water, electricity, and mechanical circulation. Treat the installation environment with the same care as the water itself. Place the unit on a level surface rated for its filled weight. A full plunge is substantially heavier than it appears, and an uneven base can stress the shell, connections, and cabinet.
Maintain clear airflow around the chiller or ventilation points. Never block vents with towels, furniture, landscaping, or storage. In enclosed spaces, manage humidity with adequate ventilation or dehumidification. Condensation is not merely cosmetic. Over time, unmanaged moisture can affect floors, walls, and nearby materials.
For outdoor installations, use the cover consistently and keep the unit protected from standing water, falling debris, and severe weather exposure. In freezing conditions, follow your manufacturer’s cold-weather guidance precisely. Never assume that a powered chiller alone prevents every freeze-related risk, particularly during a power outage.
Electrical safety remains non-negotiable. Use the dedicated, properly grounded connection specified for your equipment. Do not rely on extension cords or improvised adapters. If a ground-fault outlet trips repeatedly, if the chiller will not start, or if you notice a burning odor, shut the system down and contact qualified support rather than troubleshooting inside the electrical housing.
Common water problems and the disciplined response
Cloudy water usually comes from fine debris, body oils, inadequate filtration, unbalanced water chemistry, or a filter that needs attention. Test the water, clean or replace the filter as appropriate, and assess whether a drain-and-refill is the cleaner solution.
Foam is often a signal of organic residue or product contamination. Encourage pre-plunge rinsing, avoid skin products immediately before use, and clean the waterline. If foam returns quickly after treatment, replace the water rather than masking the problem.
A persistent odor should never be ignored. Sanitizer that is too low, organic buildup, or aging water can all contribute. Test the system, inspect the filter, and refresh the water if the cause is not immediately resolved.
Unstable temperature can be a maintenance issue, but it can also reflect the conditions around the unit. High ambient heat, direct sun, poor airflow, a dirty filter, frequent lid opening, and heavy use all make the chiller work harder. Begin with the simple checks. If performance remains inconsistent, contact the manufacturer or service team before attempting repairs.
Build maintenance into the ritual
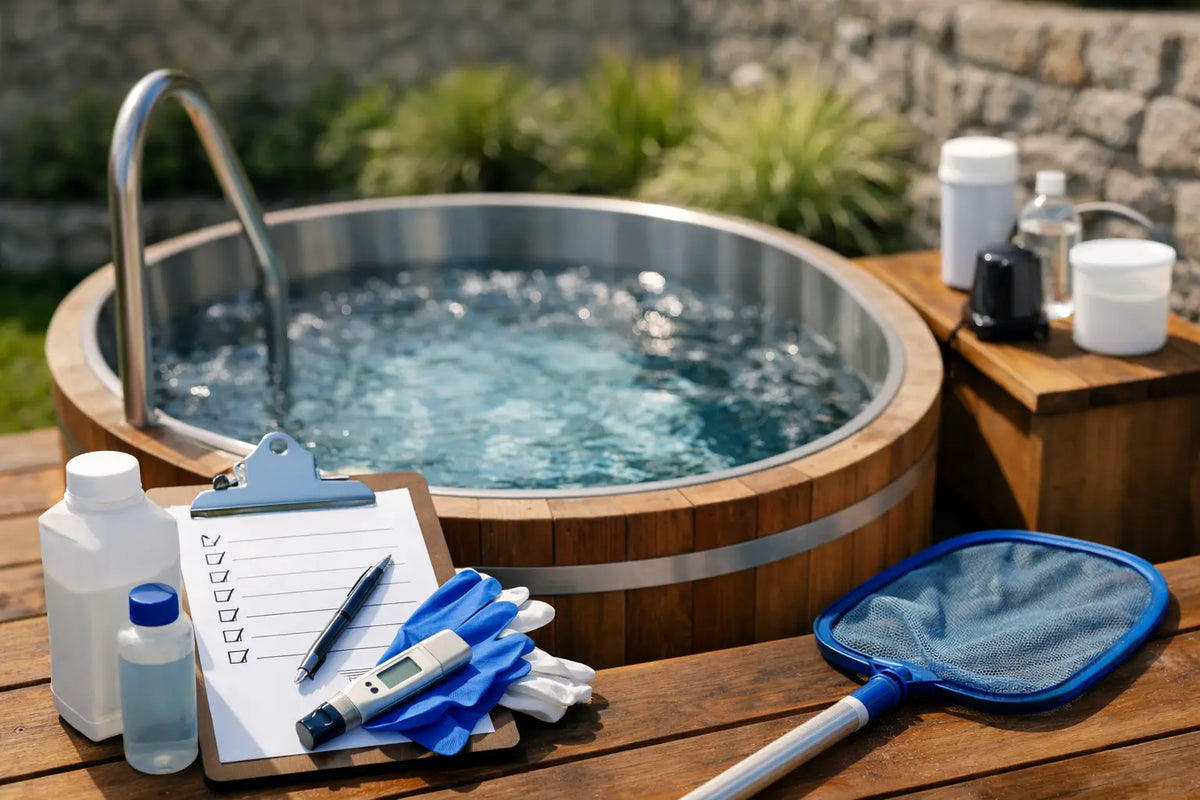
The most reliable cold plunge maintenance checklist is the one that becomes automatic. Keep test supplies, clean towels, approved water-treatment products, and filter tools organized near the unit. Assign a consistent weekly time, such as Sunday evening after your final session. Record readings and water changes in a simple note on your phone. Patterns become easier to see when they are documented.
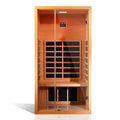
If your plunge is part of a broader home recovery environment, place maintenance alongside the rest of the routine. Just as an infrared sauna benefits from surface care and proper ventilation, cold therapy benefits from clean water and a well-managed system. The objective is not to add another chore. It is to preserve the stillness of a space built for recovery.
When the water is clear and the equipment is cared for, stepping into the cold requires less decision-making. The ritual is ready when you are: quiet, precise, and built to support the work ahead.