
How to Start Cold Exposure Without Overdoing It
The first 30 seconds are not a test of toughness. They are a test of control. Learning how to start cold exposure means practicing a measured response to discomfort: slow breathing, relaxed shoulders, and the discipline to step out before intensity becomes counterproductive.
Cold water can become a powerful part of a home recovery routine, but only when the dose fits the person. A disciplined protocol can support alertness, mood, and a greater sense of resilience. An aggressive first session can simply leave you shivering, anxious, or discouraged. Start with enough cold to create a clear stimulus, then build from there.
What Cold Exposure Does and Does Not Do
When skin meets cold water, blood vessels near the surface constrict, breathing quickens, and the nervous system becomes highly alert. This acute stress response is part of the appeal. With repeated, well-managed exposure, many people report greater calm after the initial shock, improved readiness in the morning, and a more deliberate relationship with discomfort.
The research around cold exposure is promising in areas such as perceived soreness, mood, and acute recovery, but the details matter. Benefits vary based on water temperature, duration, individual health, and the timing of a session. Cold water immersion may reduce muscle soreness after demanding endurance events or high-volume training, for example. Used immediately and frequently after resistance training, however, it may not be ideal for someone prioritizing maximal muscle growth, since inflammation also plays a role in adaptation.
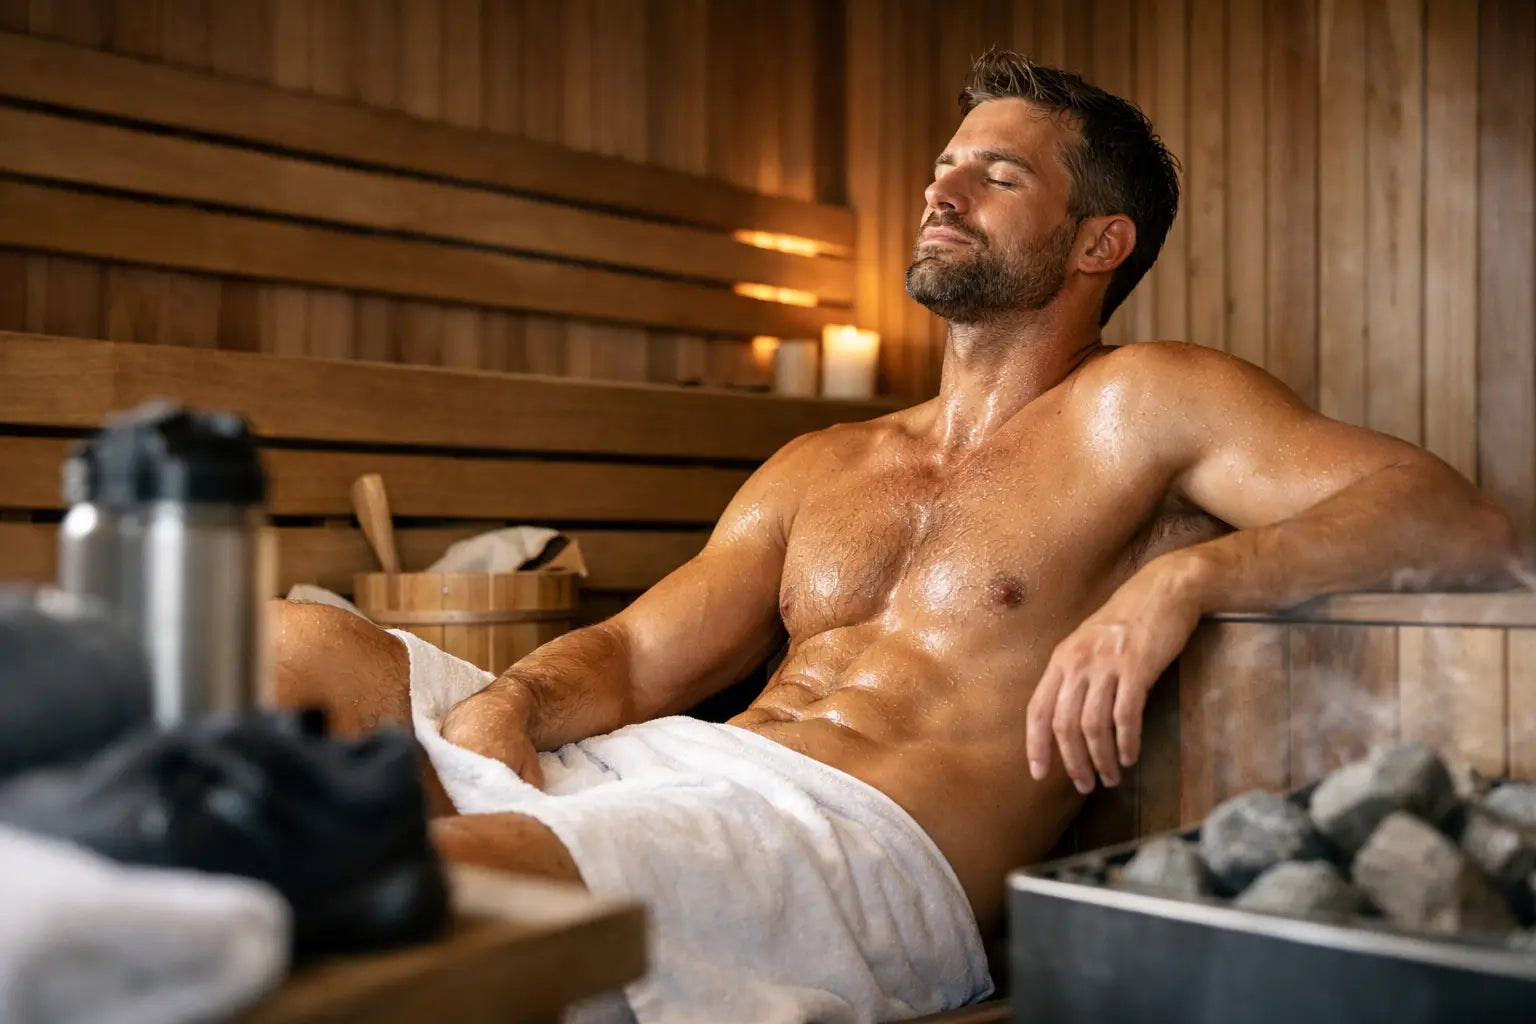
Treat cold as a modality, not a cure-all. It works best inside a larger system that includes quality sleep, adequate protein, training appropriate to your goals, hydration, heat exposure if you enjoy it, and enough recovery between demanding days.
Who Should Pause Before Starting
Cold exposure creates a rapid cardiovascular and respiratory response. That is why it deserves more respect than a casual challenge online might suggest. Speak with a qualified clinician before beginning if you have heart disease, uncontrolled high blood pressure, a history of fainting or arrhythmia, circulation disorders, Raynaud's phenomenon, cold urticaria, respiratory conditions that can be triggered by cold, or if you are pregnant.
The same caution applies if you have reduced sensation from neuropathy, are taking medications that affect blood pressure or heart rate, or have recently been ill. Never use alcohol, sedatives, or recreational substances before a cold session. They can impair judgment and make it harder to recognize when you need to stop.
If you are cleared to begin, choose a controlled setting. Avoid open water, isolated locations, and any situation where a sudden gasp, dizziness, or cramp could put you at risk. For early sessions, have another adult nearby or let someone know what you are doing.
How to Start Cold Exposure With a Controlled Dose
The best entry point is not an ice bath. It is a repeatable dose you can recover from easily.
Begin with a cool-to-cold shower finish three times per week. Complete your normal shower, then turn the water cold enough to feel distinctly uncomfortable but still manageable. Start with 15 to 30 seconds, allowing the water to reach your legs, arms, torso, and upper back. You do not need to force your head under the stream.
Your only assignment is to regain control of your breath. The initial inhale may be sharp. Let it happen, then lengthen the exhale. Try a quiet inhale through the nose and a slower exhale through the mouth. Do not hyperventilate, hold your breath, or use intense breathwork in the water. Calm, steady breathing is the standard.
After several sessions, progress to 45 to 60 seconds. Once that feels steady, move toward 90 seconds or two minutes. There is no prize for rushing. If you can step out feeling energized, clear-headed, and warm again within a reasonable time, the dose was likely appropriate.
Progressing to a Cold Plunge
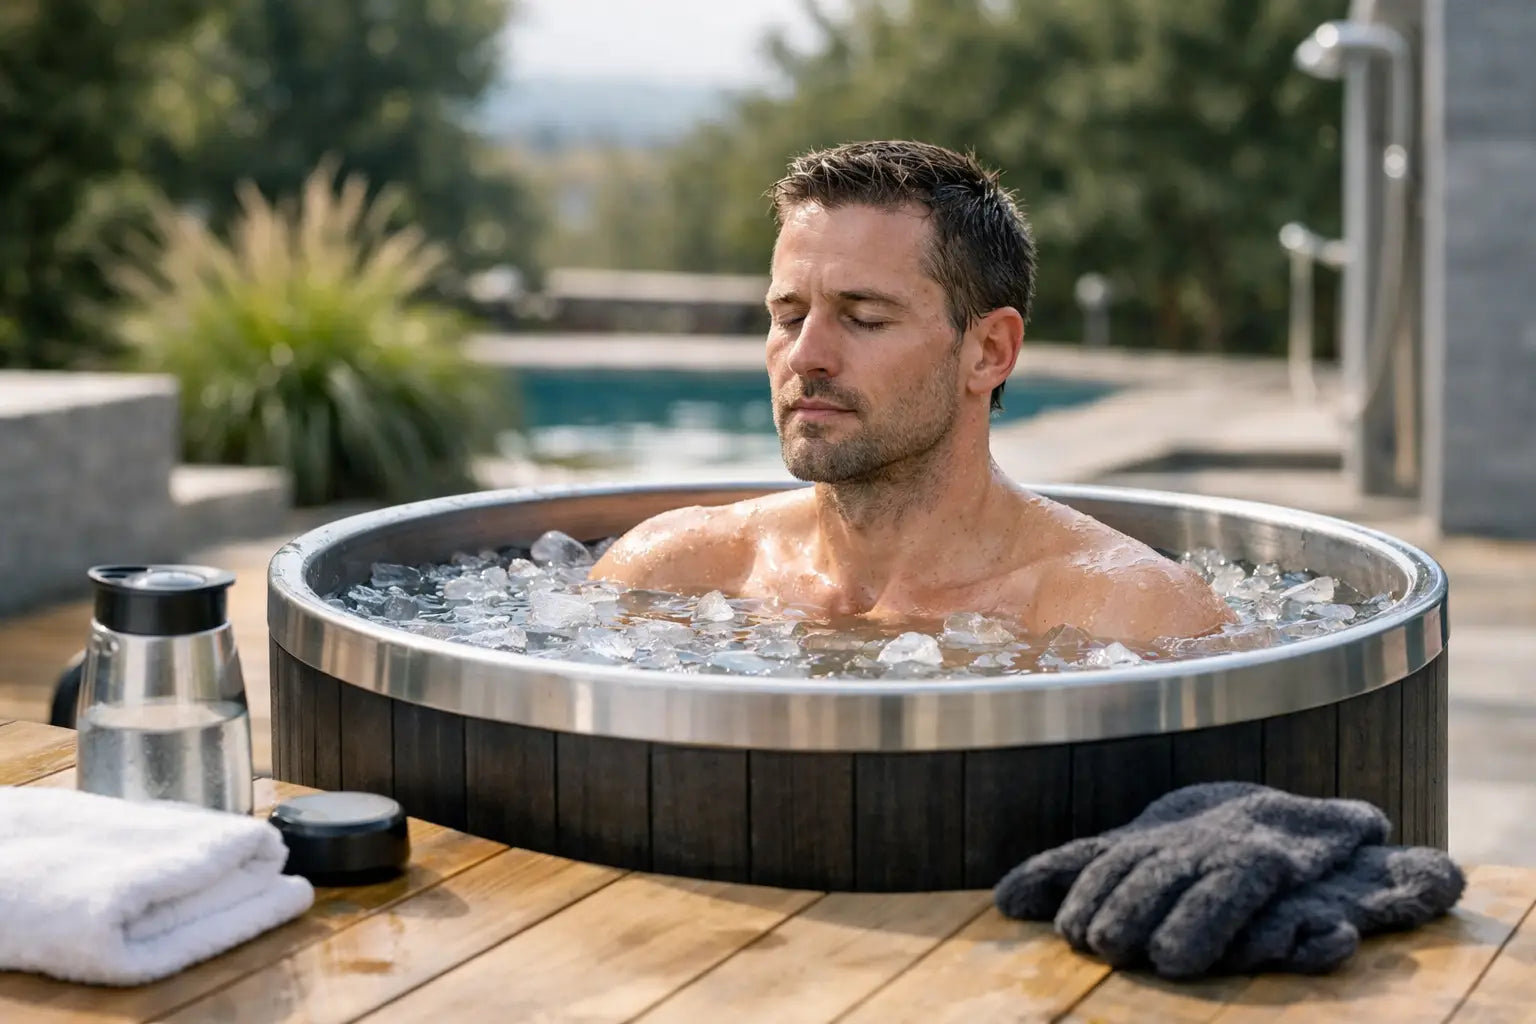
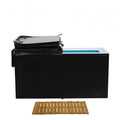
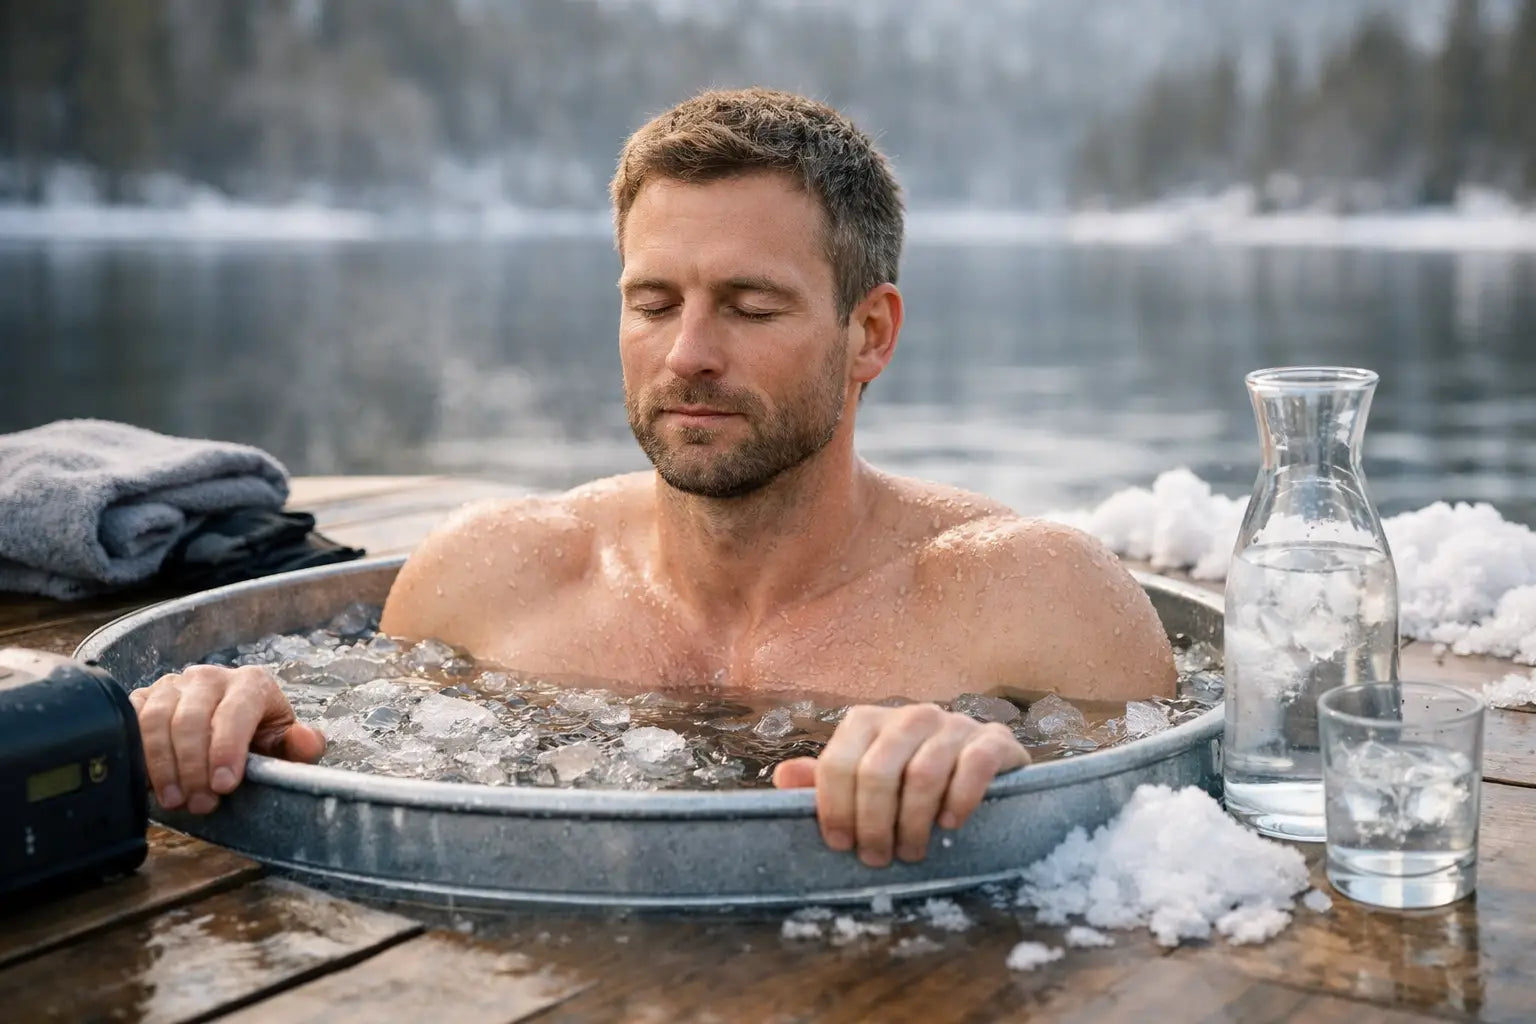
A dedicated cold plunge provides more consistency than a shower. You can set and monitor the water temperature, establish a reliable ritual, and avoid the constant adjustment common with household plumbing. That consistency matters when the goal is deliberate practice rather than an occasional burst of willpower.
For a first plunge, start around 55 to 60 degrees Fahrenheit. Enter slowly and keep the first session to 30 seconds to one minute. Keep your hands out if they are especially uncomfortable, and keep your head above water. At this stage, the objective is not a dramatic temperature. It is learning how your body responds.
Over the following two to four weeks, you can gradually work toward water in the 50 to 55 degree range for one to three minutes. Some experienced users choose colder water and longer durations, but more is not automatically better. For many people, three to five sessions per week at a manageable temperature provides plenty of stimulus without turning recovery into another source of stress.
A premium home setup can make this progression easier by removing friction. When temperature, water quality, and access are handled reliably, the practice becomes part of the morning or post-training rhythm rather than a complicated project. HALOR approaches cold immersion as a refined recovery ritual: purposeful equipment, clean design, and a routine you can sustain.
Choose Timing Based on Your Goal
Cold exposure can feel invigorating, which makes it a natural fit for the morning. A brief session before work can create a distinct transition into the day: less noise, more presence, and a feeling of earned momentum. If your priority is focus and energy, this is often the simplest place to start.
After endurance training, a cold plunge may be useful when soreness reduction and next-day readiness are the priority. This can make sense during a race week, a demanding travel schedule, or a period of high training volume.
After strength training, timing requires more nuance. If building muscle and strength is your primary goal, consider separating cold immersion from lifting by several hours or using it on non-lifting days. If you are an athlete in competition or simply need to feel recovered for another session, the immediate recovery benefit may matter more than marginal adaptation concerns. Your objective should determine the protocol.
Evening sessions can be calming for some people, but stimulating for others. Test them conservatively. If cold leaves you mentally switched on or delays sleep, move your session earlier in the day.
Know When to End the Session
A successful session ends before you are depleted. Step out if you feel dizzy, confused, numb, uncoordinated, panicked, or unable to regain steady breathing. Stop immediately for chest pain, a racing or irregular heartbeat, severe shortness of breath, or any symptom that feels medically concerning.
Afterward, dry off, dress warmly, and let your body rewarm gradually through light movement and normal clothing. Avoid the impulse to chase the experience with an extreme hot shower. The contrast can feel appealing, but it is unnecessary for a beginner and may be too abrupt for some people. Warm tea, a short walk indoors, or a few minutes of gentle mobility are usually enough.
Track the basics for your first month: water temperature, time in the cold, how controlled your breathing felt, sleep quality, training load, and how you felt later that day. This turns the practice into useful personal data. You may find that 58 degrees for two minutes leaves you more composed than 45 degrees for the same duration. That is not a lesser result. It is a better-calibrated one.
Build a Ritual You Will Actually Keep
The most effective cold routine is the one that remains calm, convenient, and repeatable after the initial excitement fades. Set a narrow window for your practice, such as three mornings each week or after your hardest conditioning sessions. Prepare a towel and warm layers before you begin. Remove small barriers that create excuses.
Do not judge progress by how much you can endure. Judge it by whether you can enter with intention, regulate your breath, exit safely, and return again next week. The quiet confidence that follows a controlled dose is the point. Let cold exposure become a practice of precision, not punishment.