
How to Create a Recovery Room That Performs
A serious recovery practice deserves more than a spare corner and equipment purchased in isolation. The best home recovery rooms create a clear transition: you enter with the physical and mental residue of training, work, or travel, then leave calmer, restored, and ready to perform again. Learning how to create a recovery room begins with this principle. Design the space around a repeatable ritual, not a collection of wellness devices.
Start With the Outcome You Want to Repeat
A recovery room can support many goals: easing post-training fatigue, building resilience through heat and cold exposure, improving sleep routines, or simply creating protected time away from a demanding schedule. Trying to serve every goal at once often produces a room that feels crowded and rarely gets used.
Choose one primary use case and one secondary use case. An endurance athlete may prioritize contrast therapy after hard sessions, with red light as a daily addition. A high-performing professional may place infrared heat and red light at the center of an evening wind-down, using cold exposure selectively in the morning. The equipment can overlap, but the routine should stay simple enough to sustain.
Think in terms of frequency before intensity. A modest practice repeated four days each week will generally become more valuable than an ambitious protocol that disrupts the rest of your life.
Choose the Right Room Before Choosing Equipment
The ideal recovery room is not necessarily the largest room in the house. It is the room that supports privacy, utility access, ventilation, drainage where needed, and consistent use. A ground-floor flex room, finished garage, lower-level room, or covered patio enclosure can work exceptionally well.
Measure the full operational footprint, not only the dimensions of each unit. A cold plunge needs space to enter and exit safely, remove its cover, access filters or controls, and manage splashes. A sauna needs manufacturer-recommended clearances, suitable flooring, and room for the door to open freely. A red light panel needs an open treatment area where you can stand or sit at an appropriate distance.
Ceiling height matters, especially for saunas and wall-mounted panels. So does the path from delivery entrance to final placement. Premium equipment is built to last, but it is heavy and often arrives in substantial sections. Planning the route, floor protection, and installation method early avoids an expensive last-minute compromise.
Build the Infrastructure First
The calm of a well-designed recovery room depends on unseen details. Before ordering equipment, evaluate electrical capacity, ventilation, flooring, water access, and drainage with qualified professionals when appropriate.
Heat-based equipment can require dedicated circuits, depending on its specifications. A cold plunge may need standard power, but should still be placed on a properly protected circuit and positioned according to manufacturer guidance. Do not treat extension cords, overloaded outlets, or improvised electrical solutions as permanent infrastructure in a room where water is present.
For flooring, choose a surface that tolerates moisture and is easy to clean. Sealed concrete, porcelain tile, luxury vinyl, and properly finished rubber flooring can all work, depending on the aesthetic and equipment load. Add non-slip mats at transition points, particularly beside a plunge and sauna entrance.
Ventilation is a performance feature, not an afterthought. Infrared saunas produce less ambient heat than traditional saunas, but the room still benefits from fresh air and moisture management. In a lower-level space, a dehumidifier may be worthwhile. If a room cannot stay dry, clear, and comfortable between sessions, it will not feel restorative for long.
Select Modalities That Work Together
A high-functioning recovery room does not need every available modality. It needs a deliberate stack whose components fit your goals, available space, and tolerance for maintenance.
Cold exposure for alertness and resilience
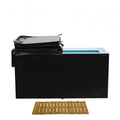
Cold plunging is often used to create a strong, controlled physiological stressor. Many people value it for alertness, discipline, and the subjective reset that follows a brief exposure. It can be especially compelling in a morning ritual or after low-intensity training.
Timing matters. Some athletes choose not to use cold immersion immediately after every strength session because the inflammatory response to training is part of the adaptation process. If muscle and strength gains are the priority, discuss timing with a qualified coach or clinician and consider separating plunge sessions from lifting.
Infrared heat for decompression
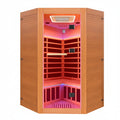
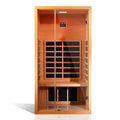
Infrared sauna sessions offer a quieter form of recovery. The gentle, penetrating warmth can help create a transition out of sympathetic drive, particularly when paired with hydration, slow breathing, and a screen-free environment. For many households, a sauna becomes the anchor of the room because it is accessible, social when sized appropriately, and easy to make part of an evening routine.
Red light therapy for a low-friction daily practice
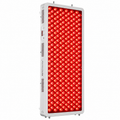
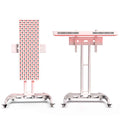
Red and near-infrared light therapy is compact relative to a sauna or plunge and can fit almost any room plan. Users often include it in routines focused on skin appearance, muscle recovery, and overall tissue support. Its practical advantage is consistency: a panel can be used in a short morning or post-training session without changing the temperature of the room or requiring a long setup.
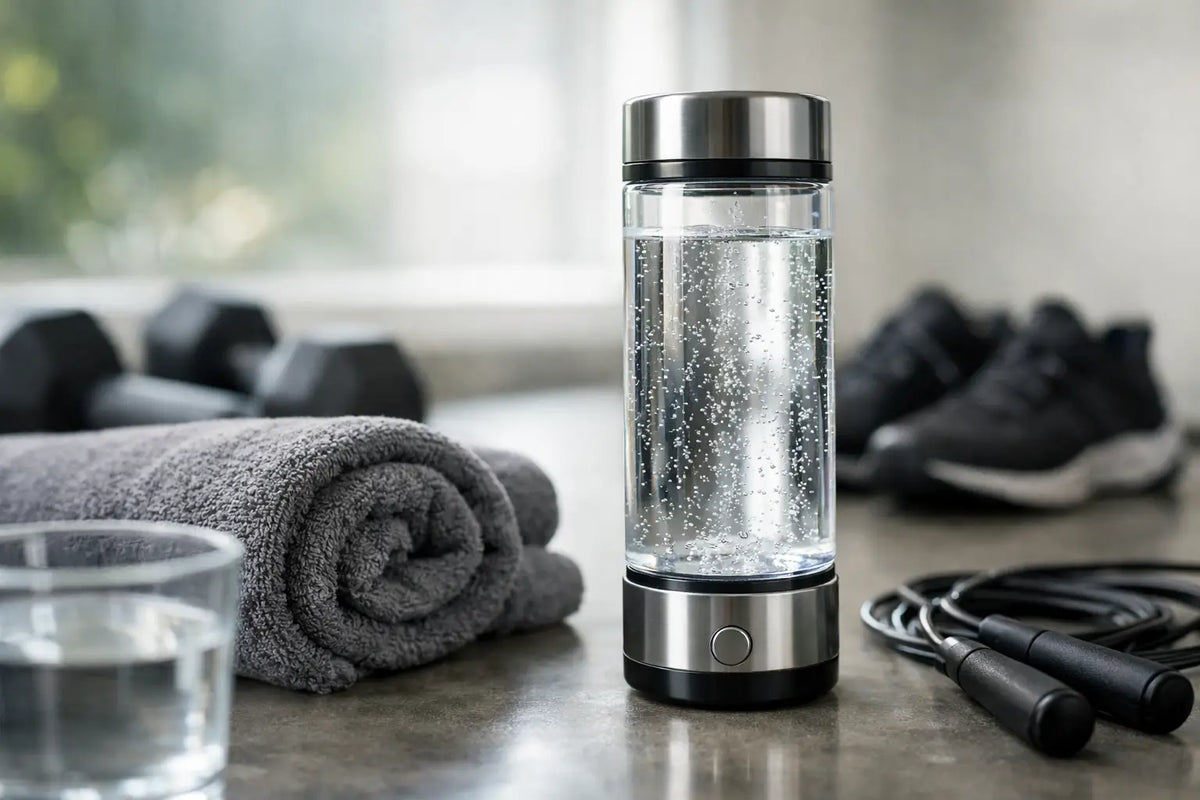
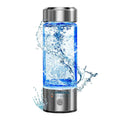
Hydrogen water can complement the environment without demanding more square footage. Keep a dedicated hydration station with clean glassware, towels, and storage for the small essentials that make a practice feel complete.
HALOR approaches these tools as an integrated home system rather than isolated purchases. The goal is not to make your routine more complicated. It is to give each modality a clear role.
Create a Sequence, Not an Open-Ended Session
Your room should guide behavior. A simple sequence reduces decision fatigue and keeps sessions from becoming another item to optimize.
For an evening recovery ritual, begin with five to ten minutes of red light while you downshift from the day. Move into infrared heat, then cool down gradually, hydrate, and leave the room in low light. For a morning protocol, hydration followed by a brief cold plunge and a few minutes of quiet breathing may provide the focused start you want without turning the routine into a 90-minute project.
Contrast therapy can be effective for people who enjoy it, but it is not mandatory. Alternating heat and cold adds time, water management, and a higher tolerance requirement. A sauna-only room or a plunge-and-red-light setup can be equally purposeful when it matches the habits you will actually maintain.
Design for Stillness Between Sessions
The clinical benefits of recovery equipment are only part of the experience. The room should make it easy to arrive, use the tools correctly, and reset the space afterward.
Use restrained materials and a limited palette: warm wood, matte stone, soft charcoal, brushed metal, or clean white walls. Avoid visual clutter. Closed storage keeps cleaning supplies, extra towels, and maintenance accessories accessible without making the room feel utilitarian.
Lighting should be layered. Bright, practical lighting helps with cleaning and equipment checks, while dimmable warm lighting creates a more restorative setting. If the room has daylight, preserve it. If it does not, use lighting that supports a calm circadian cue rather than a harsh gym-floor atmosphere.
Keep a small bench or chair near the exit for towels, hydration, and the few minutes of stillness after a session. That pause is often where the practice shifts from a task into a ritual.
Protect Safety, Maintenance, and Long-Term Use
Premium recovery equipment should feel effortless to own, but it still requires a care plan. Set a weekly maintenance window for water testing, filter checks, surface cleaning, towel laundering, and ventilation checks. A visible but discreet checklist inside a cabinet is more useful than relying on memory.
Review health considerations before beginning. Cold exposure, heat therapy, and light-based modalities are not appropriate for every person or every medical situation. Those with cardiovascular conditions, pregnancy, certain medications, implanted devices, or a history of fainting should seek guidance from a qualified healthcare professional. Never use heat or cold therapy while impaired, severely dehydrated, or alone if you are new to the practice.
If you are investing in a sauna or plunge, white-glove delivery and professional installation can be worth prioritizing. Correct placement, protected flooring, and a clean commissioning process preserve both the equipment and the experience from day one.
Build in Phases if Needed
There is no requirement to complete the room in one purchase. Start with the infrastructure that lets you expand confidently, then choose the modality most likely to earn daily or weekly use. For one person, that is an infrared sauna. For another, it is a cold plunge placed beside a shower, with red light added once a consistent rhythm is established.
The most compelling recovery rooms are not defined by excess. They are defined by a deliberate environment that makes restoration feel as natural as training. Leave the room ready for your next session, and it will quietly reinforce the standard you set for the rest of your day.