
Home Sauna Installation Guide for Better Fit
The wrong place can make a premium sauna feel like an afterthought. The right place turns it into part of your recovery rhythm - quiet, accessible, and easy to use often. That is the real purpose of a home sauna installation guide: not just getting a unit into the house, but setting it up so heat, design, and daily practice work together.
For most buyers, the biggest mistake happens before delivery day. They focus on sauna size and wood finish, then realize the room has the wrong power supply, poor clearance, or flooring that does not handle heat and moisture well. A cleaner process starts with the room, then the infrastructure, then the sauna itself.
Start the home sauna installation guide with placement
A home sauna should feel intentional. In practical terms, that means choosing a location you will actually use three to five times a week, not the space that is merely available. A back corner of a garage may work well for some households. For others, a primary bathroom, home gym, recovery room, or finished basement creates far less friction.
Indoor installations are usually simpler to control. Temperature stays stable, the unit is protected from weather, and the overall experience feels more refined. Outdoor installations can be excellent, especially when you want a stronger ritual around heat and cold exposure, but they require more attention to weatherproofing, drainage, and electrical protection.
As you assess placement, think beyond the footprint of the sauna. You also need room to open the door fully, sit down comfortably before and after a session, and access the back or sides if service is ever required. Tight installs can look efficient on paper and feel frustrating in real life.
Room dimensions and clearance
Manufacturers vary, but you should expect to leave some clearance around the unit for assembly, airflow, and maintenance. Ceiling height matters too. A low ceiling can limit where certain models fit, while an oversized room can make a compact sauna feel visually lost.
Measure the path from the curb to the final room as carefully as the room itself. Hallways, stair turns, elevators, and narrow door frames create more installation problems than square footage does. A sauna that fits the room but not the route is a preventable delay.
Power requirements matter more than most people expect
Electrical planning is where many home projects become expensive. A plug-in infrared sauna may be relatively straightforward, while a larger infrared unit or traditional sauna often needs a dedicated circuit and professional electrical work. The exact requirement depends on heater type, voltage, amperage, and local code.
This is where it pays to be precise. Do not assume an existing outlet is sufficient just because it is nearby. Load capacity, breaker size, outlet type, and wire gauge all need to match the unit specification. If they do not, performance suffers or the install becomes unsafe.
For premium buyers, the better decision is usually to have an electrician evaluate the room before purchase or at least before delivery. That gives you a realistic view of cost, timing, and whether panel upgrades are needed. In some homes, especially older properties, electrical capacity is the limiting factor.
Infrared vs traditional setup needs
Infrared saunas typically install more easily in residential spaces because they often require less heat-intensive infrastructure and can be placed in finished interiors with fewer modifications. Traditional saunas deliver a different heat profile and sensory experience, but they usually ask more from the room in terms of power, ventilation, and material durability.
Neither option is automatically better. It depends on your goals. If you want efficient, repeatable sessions with a simpler install, infrared often makes sense. If you want the ritual, steam effect, and higher-heat environment of a classic sauna, traditional may justify the extra planning.
Flooring, walls, and ventilation shape long-term performance
A polished install is not only about getting the sauna assembled. It is about protecting the surrounding room so the space still looks clean after years of use.
Start with the floor. You want a stable, level surface that handles weight and repeated heat exposure. Tile, sealed concrete, stone, and certain durable finished surfaces generally perform well. Carpet is rarely ideal. Some wood floors can work, but they may need additional protection depending on the sauna type and how much moisture is involved.
Walls deserve the same discipline. Even when a unit is self-contained, the room around it experiences repeated temperature shifts. In a traditional sauna setup, moisture management becomes far more important. If the room is not designed to tolerate that environment, the surrounding finishes can age quickly.
Ventilation is often overlooked because modern saunas feel self-contained. But the room still benefits from clean air movement and moisture control. In a dedicated wellness room or basement, that might mean adding an exhaust fan, dehumidification, or simply ensuring the space can air out properly after use. A sauna that heats beautifully but leaves the room stale is not a complete installation.
Delivery day is not the beginning of the project
The best installations are staged in advance. By the time the sauna arrives, the room should be measured, cleared, protected, and ready. Electrical work should be complete. Flooring should be level. If the unit requires special handling, that should already be arranged.
White-glove installation becomes especially valuable with larger, premium models. It reduces the risk of cosmetic damage, assembly errors, and awkward placement decisions made in the moment. For buyers investing in a design-conscious recovery space, this is often the difference between a product that looks integrated and one that looks dropped in.
If you are managing the install yourself, review the assembly sequence before delivery. Some units need more room during assembly than they need once completed. That detail catches people off guard. Panels, benches, glass sections, and heater components all need temporary working space.
Common installation mistakes
Most issues come from rushing. The room is not fully ready, the electrical plan is assumed rather than verified, or the buyer underestimates how heavy and delicate the components are.
Another common mistake is placing the sauna in the least disruptive location rather than the most usable one. That may preserve a cleaner floor plan, but it often lowers consistency. And consistency is where the return on investment lives. A sauna tucked too far from the daily routine becomes occasional. A sauna integrated into the rhythm of training, showering, and evening recovery gets used.
Design the room around use, not just the sauna
A strong home sauna installation guide should account for the moments before and after heat exposure. Where will you put towels? Is there a nearby shower? Do you need a small bench, hydration station, or low light for evening sessions? These details seem secondary until the first week of use, when they become part of the ritual.
For performance-focused households, the sauna often sits within a broader recovery system. That may include cold exposure, red light, mobility work, or post-training hydration. In that context, placement becomes strategic. The goal is not simply to fit a unit in the home. It is to create a repeatable sequence that feels calm, efficient, and worth returning to.
This is also where aesthetics matter. Clean lines, uncluttered flooring, considered lighting, and enough negative space around the unit all influence whether the room feels clinical in the right way or crowded in the wrong one. Premium wellness products perform better when the environment supports focus.
Should you install a home sauna yourself?
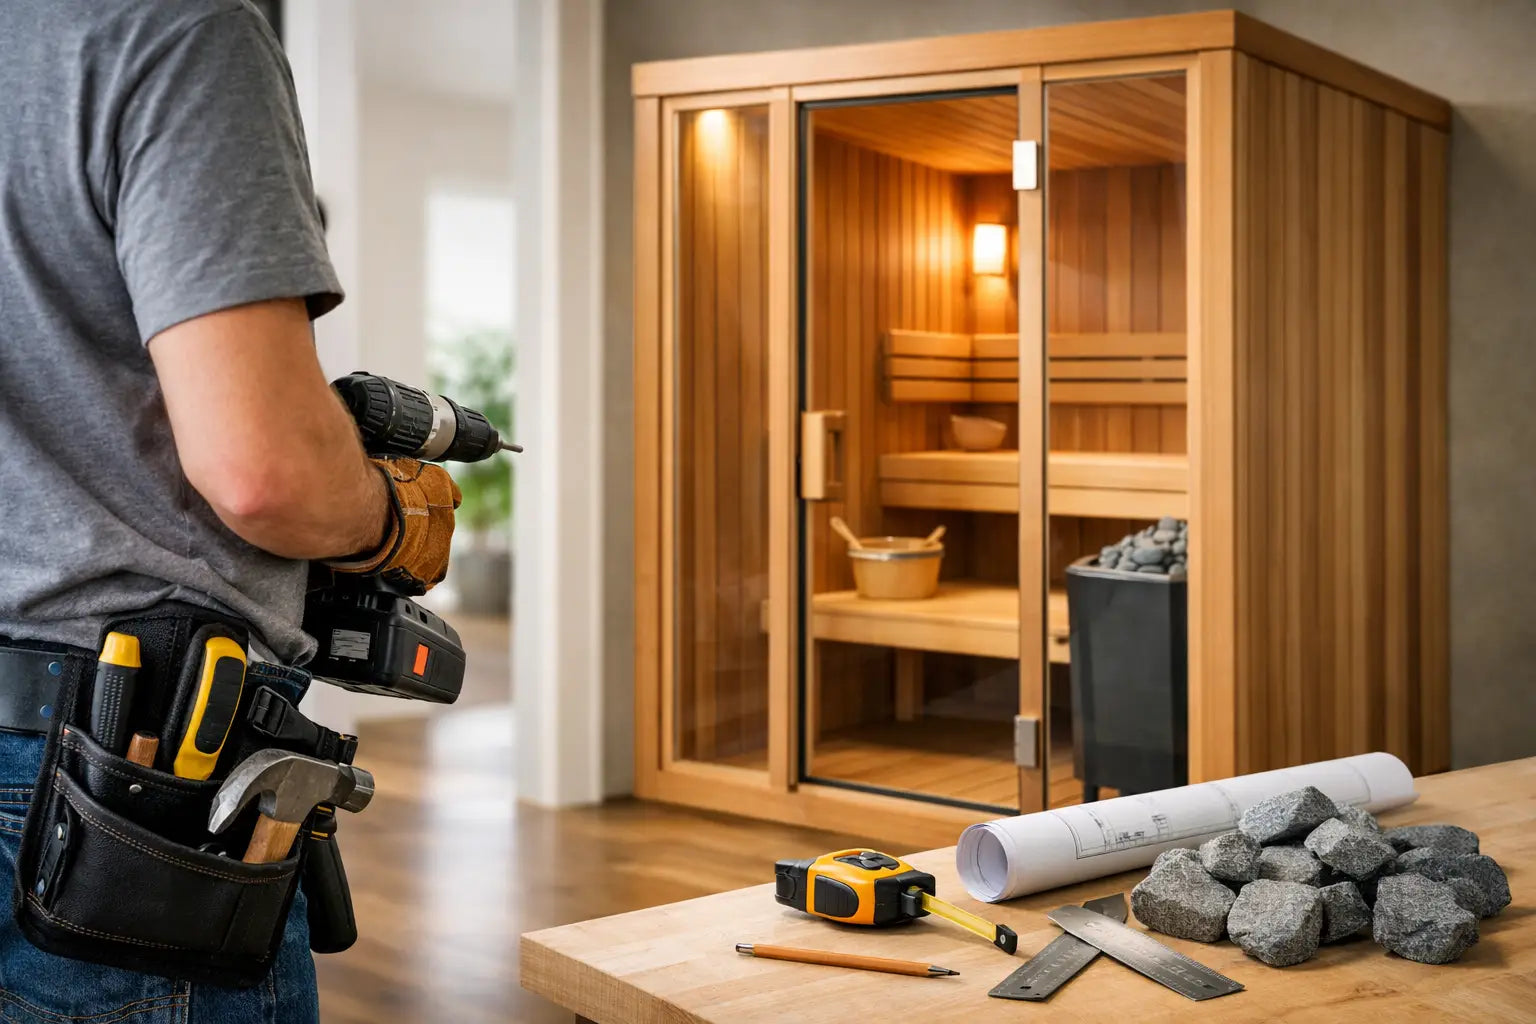
Sometimes yes. Many infrared units are designed for relatively straightforward home assembly, especially in rooms that already meet power and flooring requirements. If the unit is compact, the route is simple, and you are comfortable following detailed instructions, a self-install can work.
But there are clear cases for professional help. Larger units, glass-heavy designs, dedicated electrical work, upper-floor placement, or homes with tighter access usually justify expert installation. The more premium the product and the more integrated the room design, the more value there is in getting it right the first time.
HALOR-style buyers usually care about three outcomes at once: performance, visual alignment, and low-friction ownership. Professional installation tends to support all three.
Final checks before the first session
Before you power on the sauna, confirm the unit is level, the door seals properly, all electrical specifications match the manufacturer requirements, and the room has adequate airflow. Run the sauna empty for its initial cycle if recommended. That helps you identify any setup issues and lets the interior settle before regular use.
Then pay attention to how the room feels in use. Is the walk from shower to sauna convenient? Does the floor stay dry and stable? Is there enough room to enter and exit without disrupting the calm of the session? Good installation is not only technical. It is experiential.
A home sauna earns its place when it feels less like equipment and more like a standard part of how you recover. If you plan the install with that level of intention, the result is not just heat. It is a room you return to with purpose.